What are Tax Rules ?
Tax rules incorporate a combination of product class, customer class and tax rate. Each customer is assigned to a customer class, and each product is assigned a product class. Backend admin panel analyzes the shopping cart of each customer and calculates the appropriate tax according to the customer and product classes, and the region (based on the customer’s shipping address, billing address or shipping origin).
Configuring the tax rules can be easily done in few steps as guided below
Step 1: Complete the tax rule information
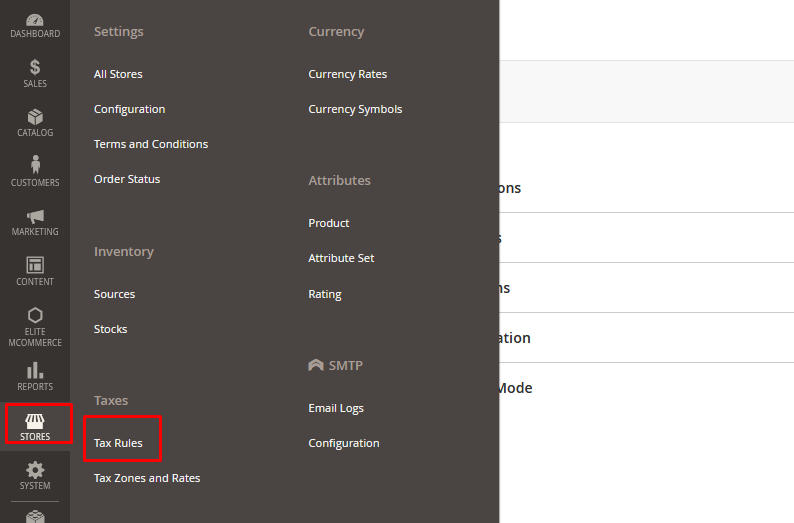
1.Navigate to Stores → Taxes → Tax Rules.
2.In the upper-right corner, click Add New Tax Rule.
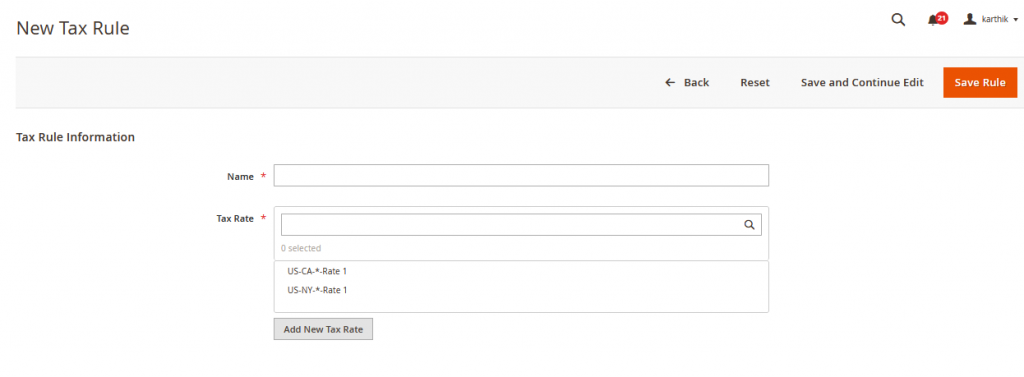
3.Under Tax Rule Information, enter a Name for the new rule.
4.Choose the Tax Rate that applies to the rule.
If you need to edit an existing tax rate, do the following:
- Hover over the tax rate and click the Edit icon.
- Update the form as needed and click Save
- To enter tax rates, use either of the following methods:
Method 1: Enter tax rates manually
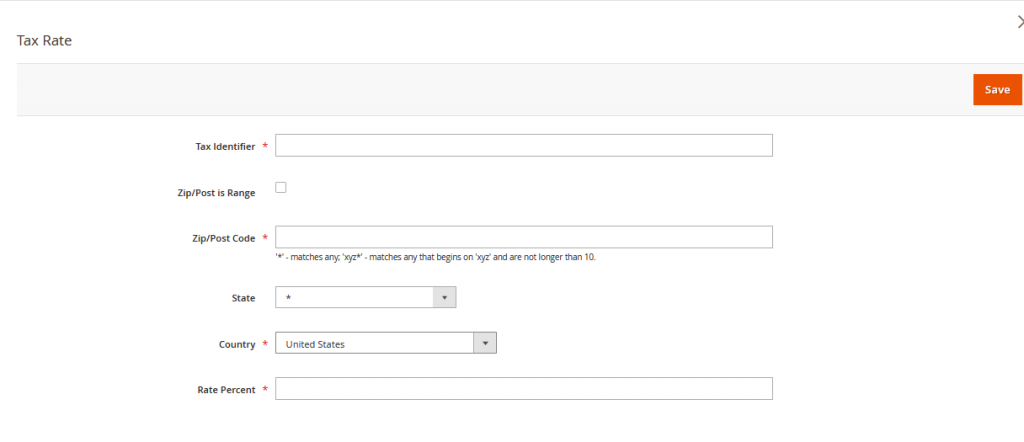
- Click Add New Tax Rate.
- Complete the form as needed (see Tax Zones and Rates).
- When complete, click Save
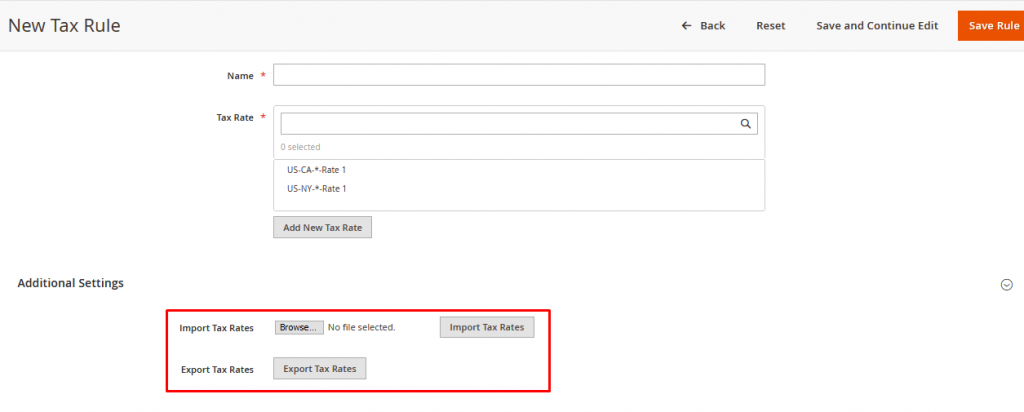
Method 2: Import/Export Tax Rules
Scroll down to the section at the bottom of the page. To import tax rates, do the following:
- Click Choose File and navigate to the CSV file with the tax rates to be imported.
- Click Import Tax Rates.
To export tax rates, click Export Tax Rates (see Step 3 in detail).
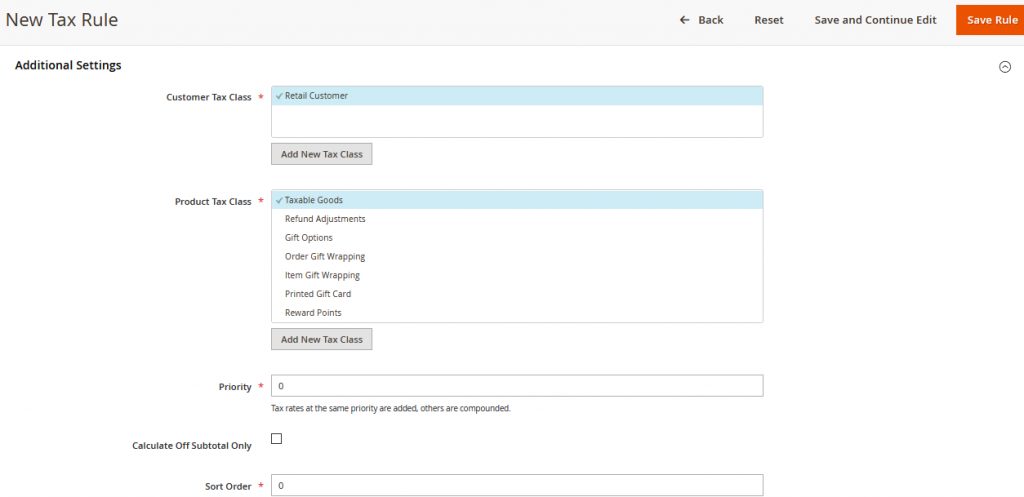
Step 2: Complete the Additional Settings
1.Click Additional Settings to open the section.
2.Choose the Customer Tax Class to which the rule applies.
- To edit a customer tax class, click the edit icon, update the form as needed, and click Save.
- To create a new tax class, click Add New Tax Class, complete the form as needed, and click Save.
3.Choose the Product Tax Class to which the rule applies.
- To edit a product tax class, click the edit icon, update the form as needed, and click Save.
- To create a new tax class, click Add New Tax Class, complete the form as needed, and click Save.
4.When more than one tax applies, enter a number to indicate the priority of this tax for Priority.
- If two tax rules with the same priority apply, the taxes are added together. If two taxes with different priority settings apply, the taxes are compounded.
5.If you want taxes to be based on the order subtotal, select the Calculate off Subtotal Only checkbox.
6.For Sort Order, enter a number to indicate the order of this tax rule when listed with others.
7.When complete, click Save Rule
Step 3: Import/Export Tax Rule in detail:
If you conduct business in several states and ship a large quantity of product, entering tax rates manually can be very time consuming. It is faster and more efficient to download tax rates by ZIP code and import them into Magento. The following example shows how to import a set of state-specific tax rates downloaded from a trusted source. Avalara provides tax rate tables, that you can download at no charge, for every ZIP code in the United States.
- How to Export the Magento Tax Rate Data:
- 1.On the Admin sidebar, go to System > Data Transfer > Import/Export Tax Rates.
- 2.Click Export Tax Rates.
- 3.Look for the file in the download location for your web browser.
- 4.Save and open the file in a spreadsheet.
- This example uses OpenOffice Calc.
- The exported Magento tax rate data includes the following columns:
- Code
- Country
- State
- Zip/Post Code
- Rate
- Range From
- Range To
- A column for each store view

-
-
- 5.Open the new tax rate data in a second instance of the spreadsheet, so you can see them side by side.
- 6.In the new tax rate data, take note of any additional tax rate data that you might need to set up in your store before the data is imported.
-
For example, the tax rate data for California also includes:
-
-
- TaxRegionName
- CombinedRate
- StateRate
- CountyRate
- CityRate
- SpecialRate
-
If you need to import additional tax zones and rates, you must first define them from the Admin of your store and update the tax rules as needed. Then, export the data and open the file in OpenOffice Calc, so it can be used for reference. However, to keep this example simple, we import only the standard tax rate columns.
How to Prepare the Import Data
You have two spreadsheets open, side by side. One contains the Magento export file structure, and the other contains the new tax rate data that you want to import.
1.To create a place to work in the spreadsheet with the new tax rate data, insert as many blank columns at the far right as needed to add data from the Magento export file. Use cut-and-paste to add the data and then rearrange the columns so they match the order of the Magento export data file.
2.Rename the column headers to match the Magento export data.
3.Delete any columns that have no data. Otherwise, the structure of the import file should match the original Magento export data.
4.Before saving the file, scroll down and make sure that the tax rate columns contain only numeric data. Any text found in a tax rate column will prevent the data from being imported.
5.Save the prepared data as a .CSV file. When prompted, verify that a comma is used as a Field delimiter and double quotes as the Text delimiter. Then click OK.
How to Import the Tax Rates
1.On the Admin sidebar, go to System > Data Transfer > Import/Export Tax Rates.
2.Click Browse and choose the CSV tax rate file that you prepared to import. Then, click Import Tax Rates.
It might take several minutes to import the data. When the process is complete, the The tax rate has been imported (message appears). If you receive an error message, correct the problem in the data and try again.
3.On the Admin sidebar, go to Stores > Taxes > Tax Zones and Rates.
The imported rates appear in the list. Use the page controls to view the new tax rates.
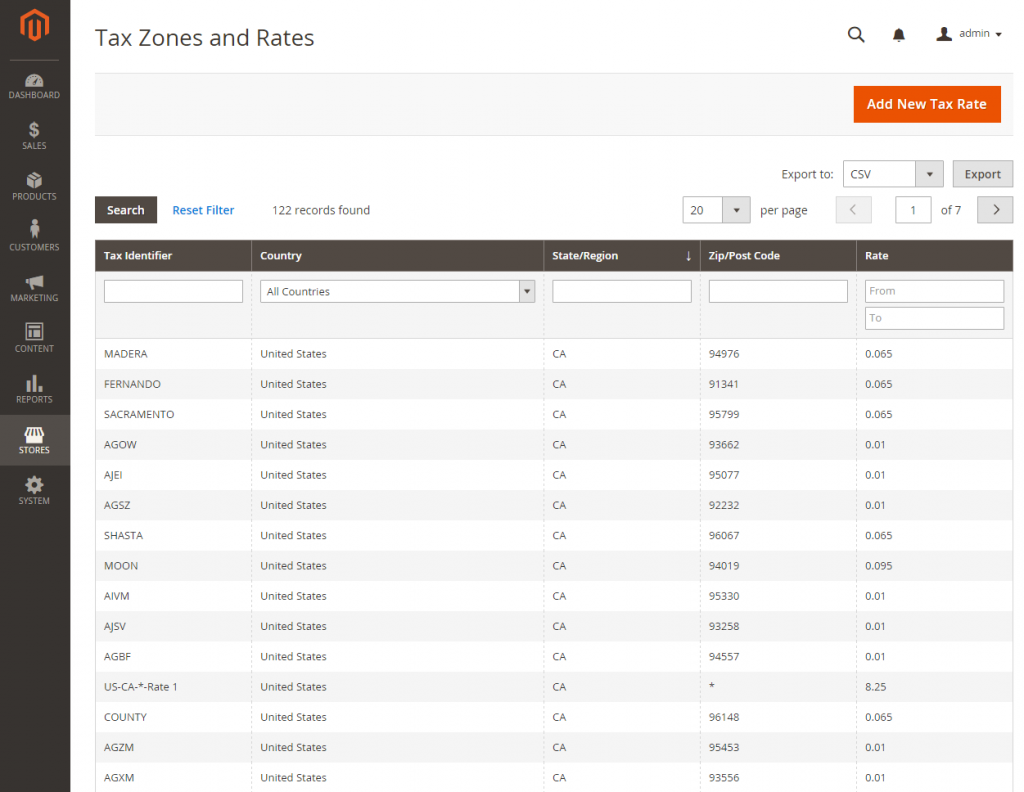
4.Run some test transactions in your store with customers from different ZIP codes to make sure that the new tax rates work correctly.