The customer can communicate with the store admin in 3 different channels of communication
- Call
- Chat
We can configure this is in very simple steps
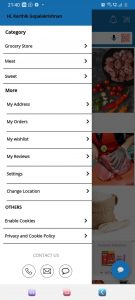
How does it look in app: The three buttons to multi-channel feature. The chat can also be started with that icon with a blue circle
This multi-channel communication makes the customer interact with the store admin through a quick call, or active chat and through email
Step 1: How to Configure Call and Chat Settings
- Navigate to Stores → Configuration → Elite mCommerce → General Configuration → Multi-channel Communications
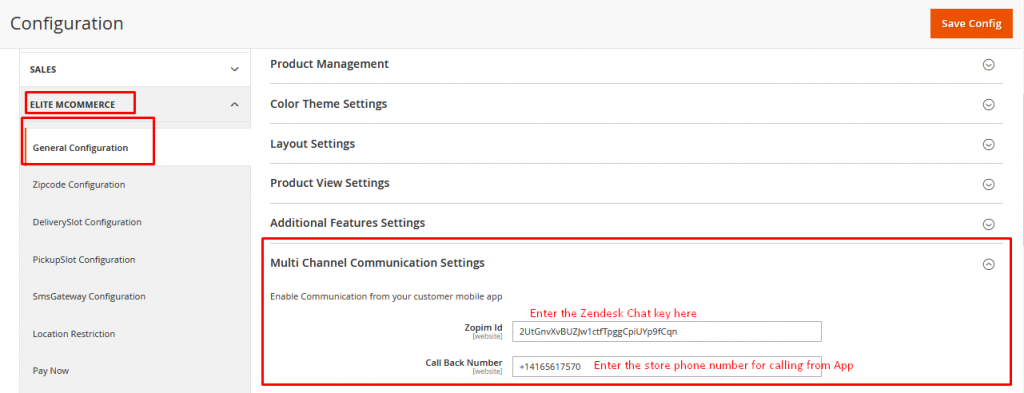
2.Enter the Call back number- Phone number with Country code- for calling from app
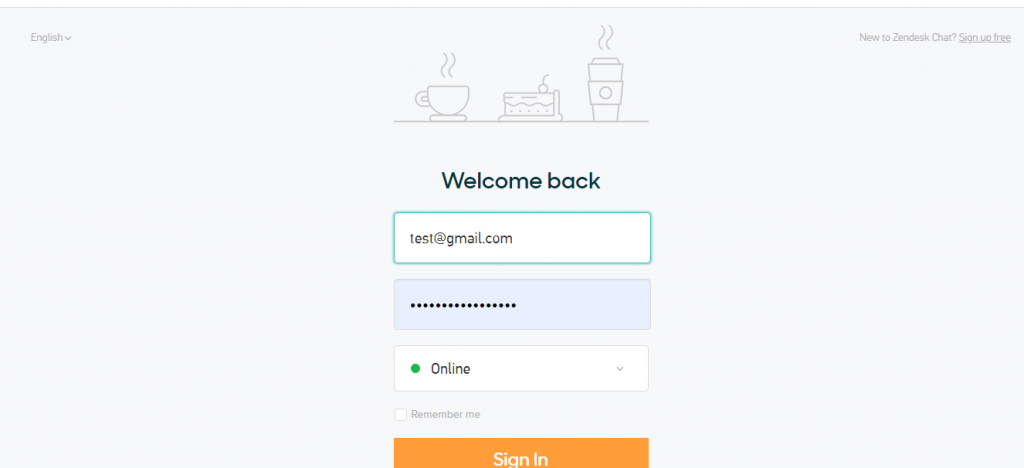
3.For Chat functionality, Store admin has to subscribe with Zendesk chat feature and login with below login link
4.Login to Zopim-Zendesk chat account –https://account.zopim.com/login?redirect_to=https%3A%2F%2Fdashboard.zopim.com%2F%23home
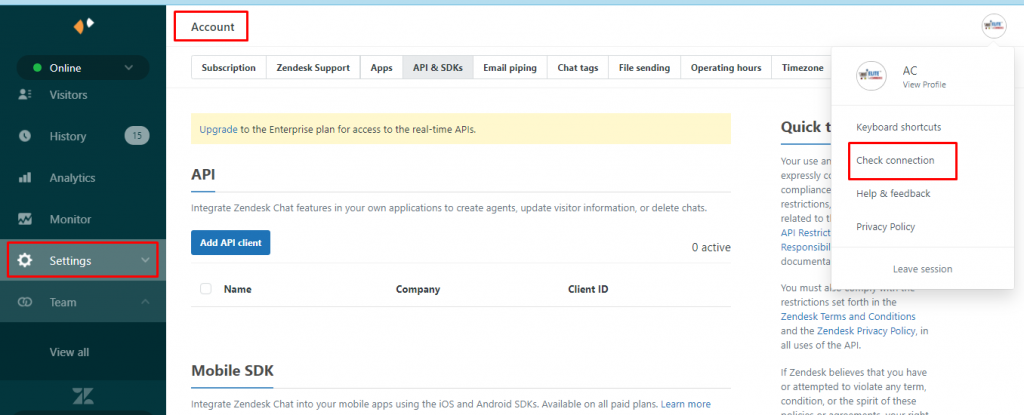
5.Click on the avatar on the right side top, → Click on Check connection
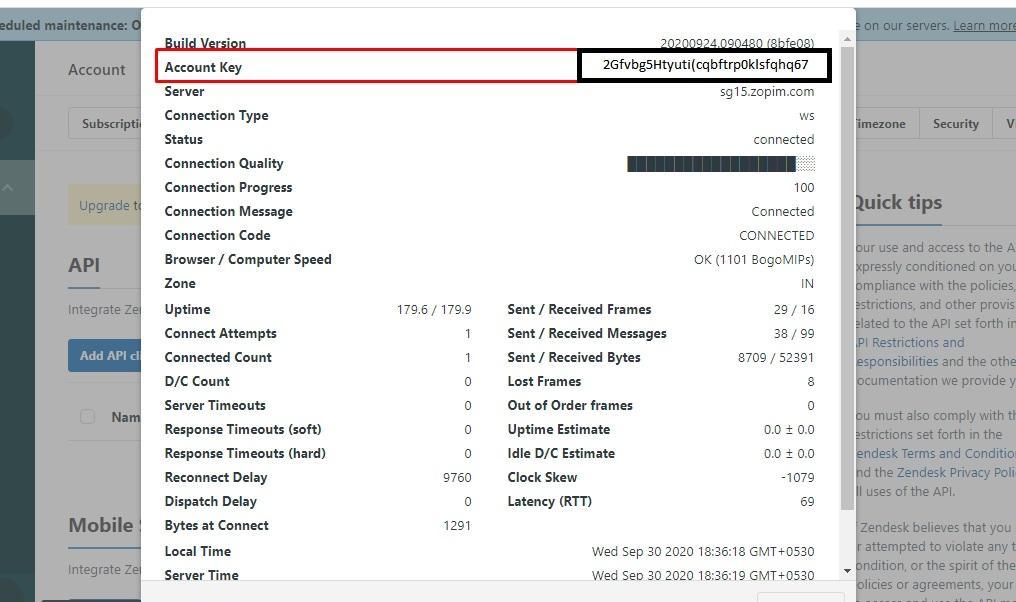
6.Copy the Account key from your account as shown in figure and paste it in “Zopim ID” box under Multi-channel Settings
Step 2 : How to Configure Email Feature
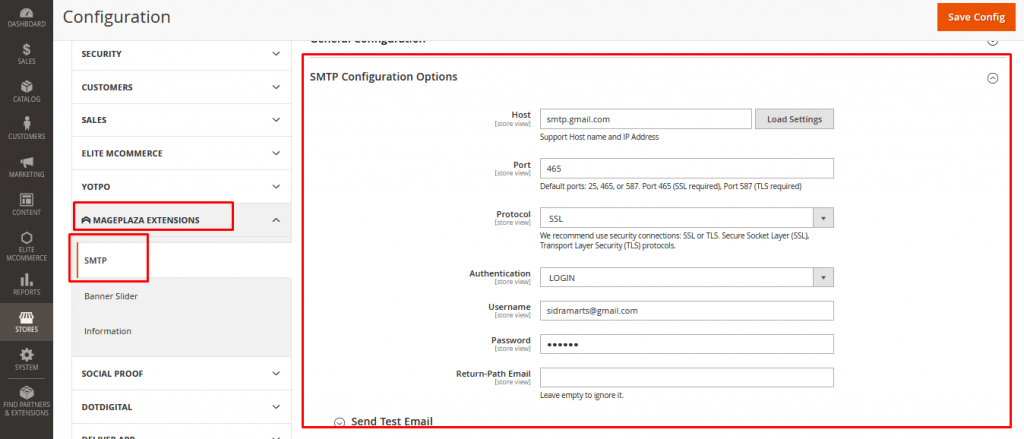
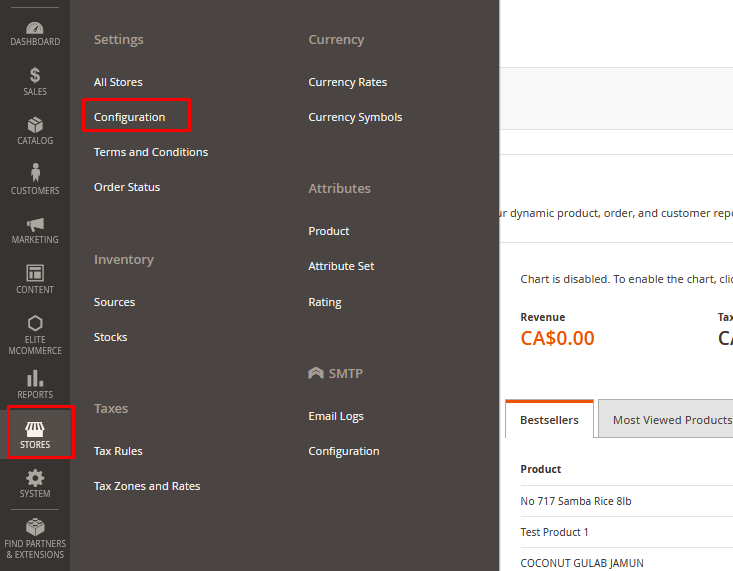
- Navigate to Stores → SMTP → Configuration
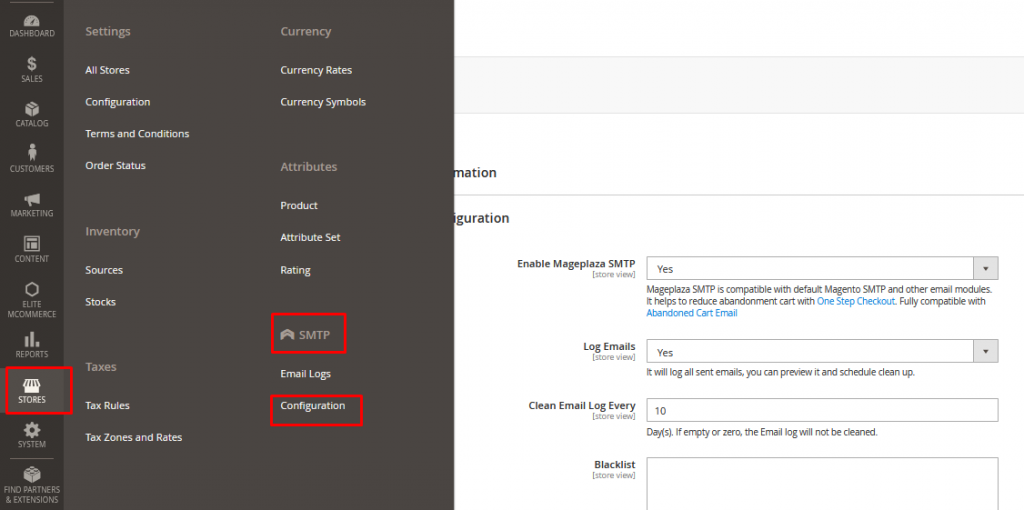
2.Enter the host details , Port, Protocol, and Authentication as shown in image below(if it is gmail mail) if you are using domain based email- then put the host details as “smtpout.secureserver.net” and other details same
3.Enter the email address and Password
4.Configure Test email – put send test to “ <your email id> for testing and save the configuration
5.Try to test your email if you wish to check if mail is received or not